HVAC Winter Prep and Maintenance
By Grainger Editorial Staff 9/23/25
Seasonal HVAC maintenance can reduce heating costs by up to 20% and extend system lifespan. Key tasks include cleaning coils, recharging refrigerant, inspecting ducts and the furnace and changing filters. Regular upkeep helps ensure efficiency, reliability and improved indoor air quality.
The changing of the seasons is a good time to schedule HVAC maintenance. It’s best to schedule a semi-annual system checkup for the fall, to ensure your heating system is ready to perform when you need it most.
The U.S. Department of Energy estimates proper maintenance of a commercial HVAC system can lead to savings of up to 20% on energy bills. Use the following checklist to cover the basics of getting your heat pump and furnace in shape for cold weather.
1. Feel and Listen: A good first step is to simply turn the system to heating mode and listen for unusual noises. Feel for warm air blowing from the registers. Track down the source of any noises and start your troubleshooting there.
2. Clean the Coils: Dust can build up on the evaporator coils inside the air handler, creating an insulating layer that will hurt your heat pump’s efficiency. Use a dusting brush and a shop vac to clean the coils. Clean the drain pan beneath the unit and make sure the drain plug is clear of obstructions and letting condensation flow freely.
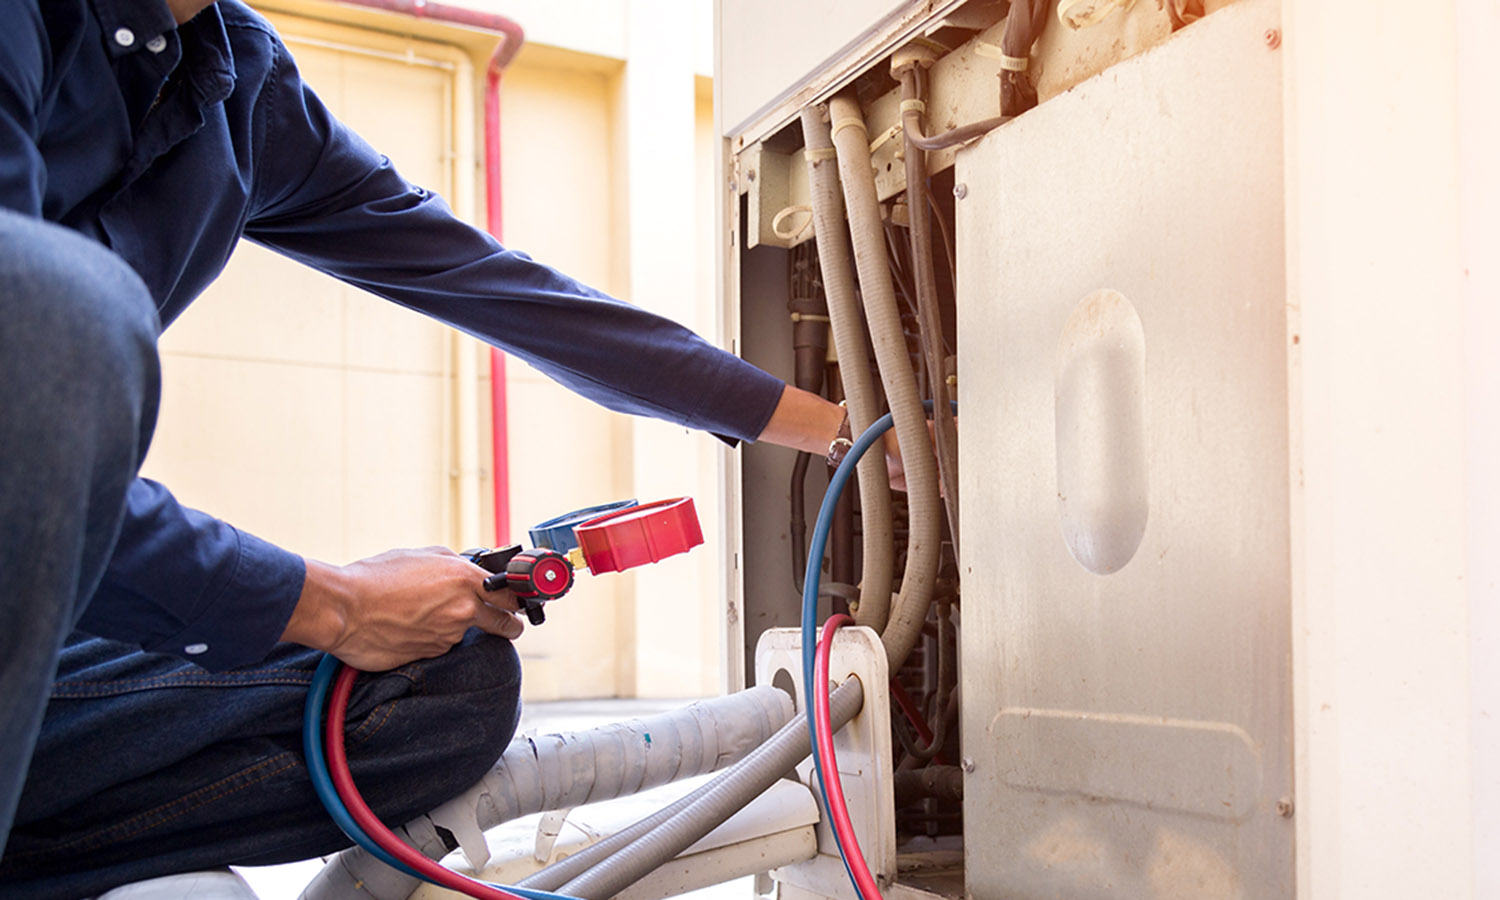
3. Recharge the Refrigerant: The refrigerant that powers your heat pump is under pressure, and a slow leak can sap your system’s performance. Follow your unit’s instructions for checking the refrigerant level and recharging the system. If you have a leak, an ultraviolet dye kit can help you locate the leak and make the necessary repairs.
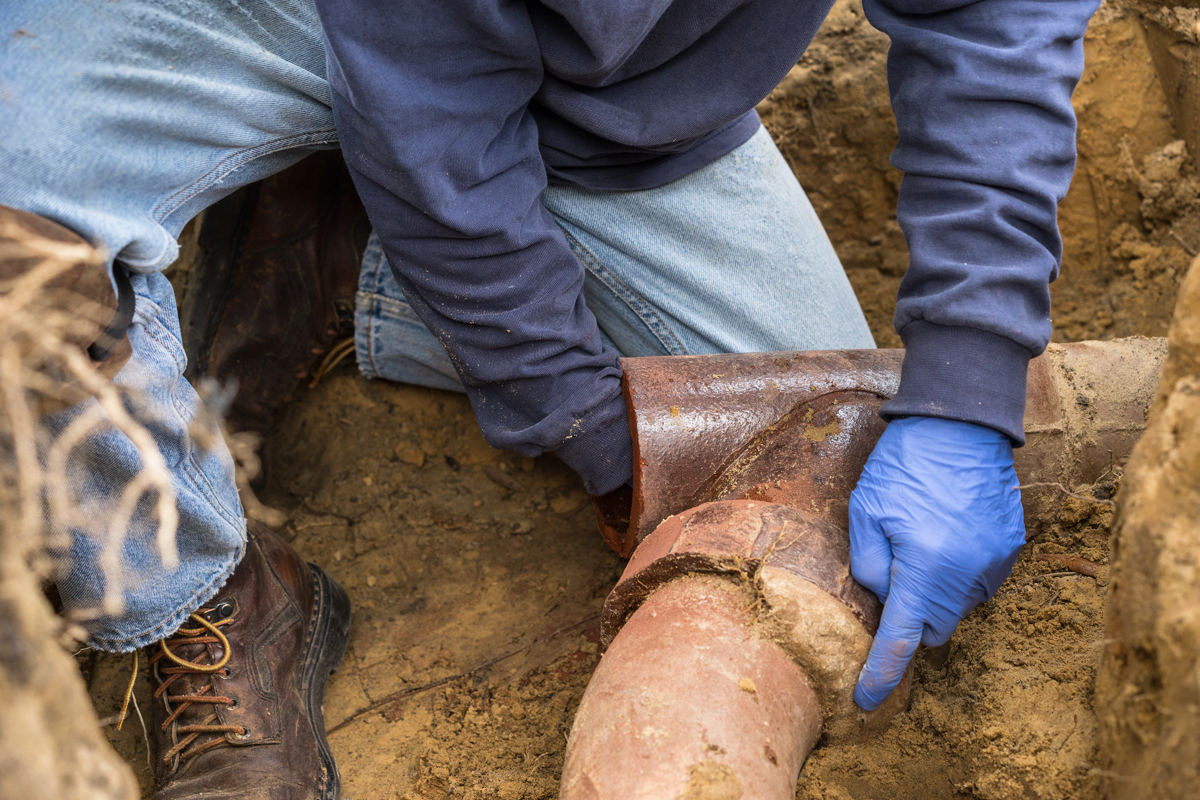
4. Check Ductwork for Leaks: A visual inspection of your ductwork may reveal tears or loose connections in the system. For a more comprehensive leak test, turn on the blower fan and inspect every junction in the ductwork with a smoke match, watching for drafts that displace the smoke column. Small leaks can be repaired with duct tape and sealant, but larger breaches may require replacing a section of ductwork.
While many contractors will offer to clean the dust from your air ducts, the EPA has found no evidence that dusty air ducts harm indoor air quality or reduce your HVAC system’s efficiency. The agency only recommends cleaning ductwork if substantial mold growth or obstructive debris is found.
5. Inspect the Furnace: To make sure your furnace is in operating condition, the first component to check is the thermocouple, a safety device that cuts off the gas supply if the pilot light goes out. A dirty thermocouple can prevent the furnace from firing up, even when the pilot light is lit. Follow your furnace’s instructions for removing the thermocouple and clean any soot buildup with steel wool.
After reinstalling the thermocouple, make sure the gas valve is turned on and the pilot light is lit, and see if the furnace will fire up. If the furnace still won’t light, don’t worry—the thermocouple is usually not expected to last the full lifetime of the furnace, and you may need to install a replacement.
Next, change the air filter. If your furnace has a humidifier, this is a good time to clean the tank and check for mold.
6. Clean the Blower Fan: The furnace blower may have accumulated dust over the summer, and you don’t want to blow it out into the building. Remove the furnace fan cover and clean the blades with a brush and shop vac. Check the fan blades for cracked or bent fins, and if necessary, replace the blower unit. If the fan is belt driven, inspect the drive belt for cracks and fraying, and replace the belt if necessary.
7. Cycle the Dampers: Improper ventilation can hurt indoor air quality and exacerbate allergies. Make sure your fresh air damper is admitting outdoor air at a rate that complies with ASHRE standard 62.1. Clean the intake screen, change the filter, and lubricate the damper’s shutters. Cycle the damper open and closed to ensure it’s operating correctly. If your building has smoke and fire dampers, test their operation as well. Replace any actuators, dampers or louvers that are malfunctioning.
8. Clean the Compressor: Your heat pump’s outdoor compressor can be easy to ignore, but it needs a regular checkup. Make sure the sides of the unit are clear of vegetation and debris, allowing adequate airflow to the coils. Check for cracked and bent fan blades, and clean any dirt from the fan. If you do not use a heat pump, consider covering the compressor unit for the winter to protect it from the elements.
9. Reset the Thermostat: Briefly run the system in heat mode to be sure the controls are operating correctly. A broken thermostat can take the entire system down, so be sure to replace any malfunctioning ones.
Briefly run the system in heat mode to be sure the controls are operating correctly. A broken thermostat can take the entire system down, so be sure to replace any switches or control panels that are malfunctioning.
10. Change the Filters: New air filters not only clean the air circulating in your building, but they also reduce strain on your blower fan. Filters should be changed on a regular schedule, likely four times a year.
For help with finding parts or supplies for maintaining your building’s HVAC system, visit Grainger Facility Services.

PPE in the Workplace
Gender-Specific PPE: Finding PPE Fit for Women
Learn why properly fitting PPE for women helps improve safety, comfort and compliance and how employers can support access to gear that fits.
![]() OUR LATEST KNOWHOW
OUR LATEST KNOWHOW
Equipment
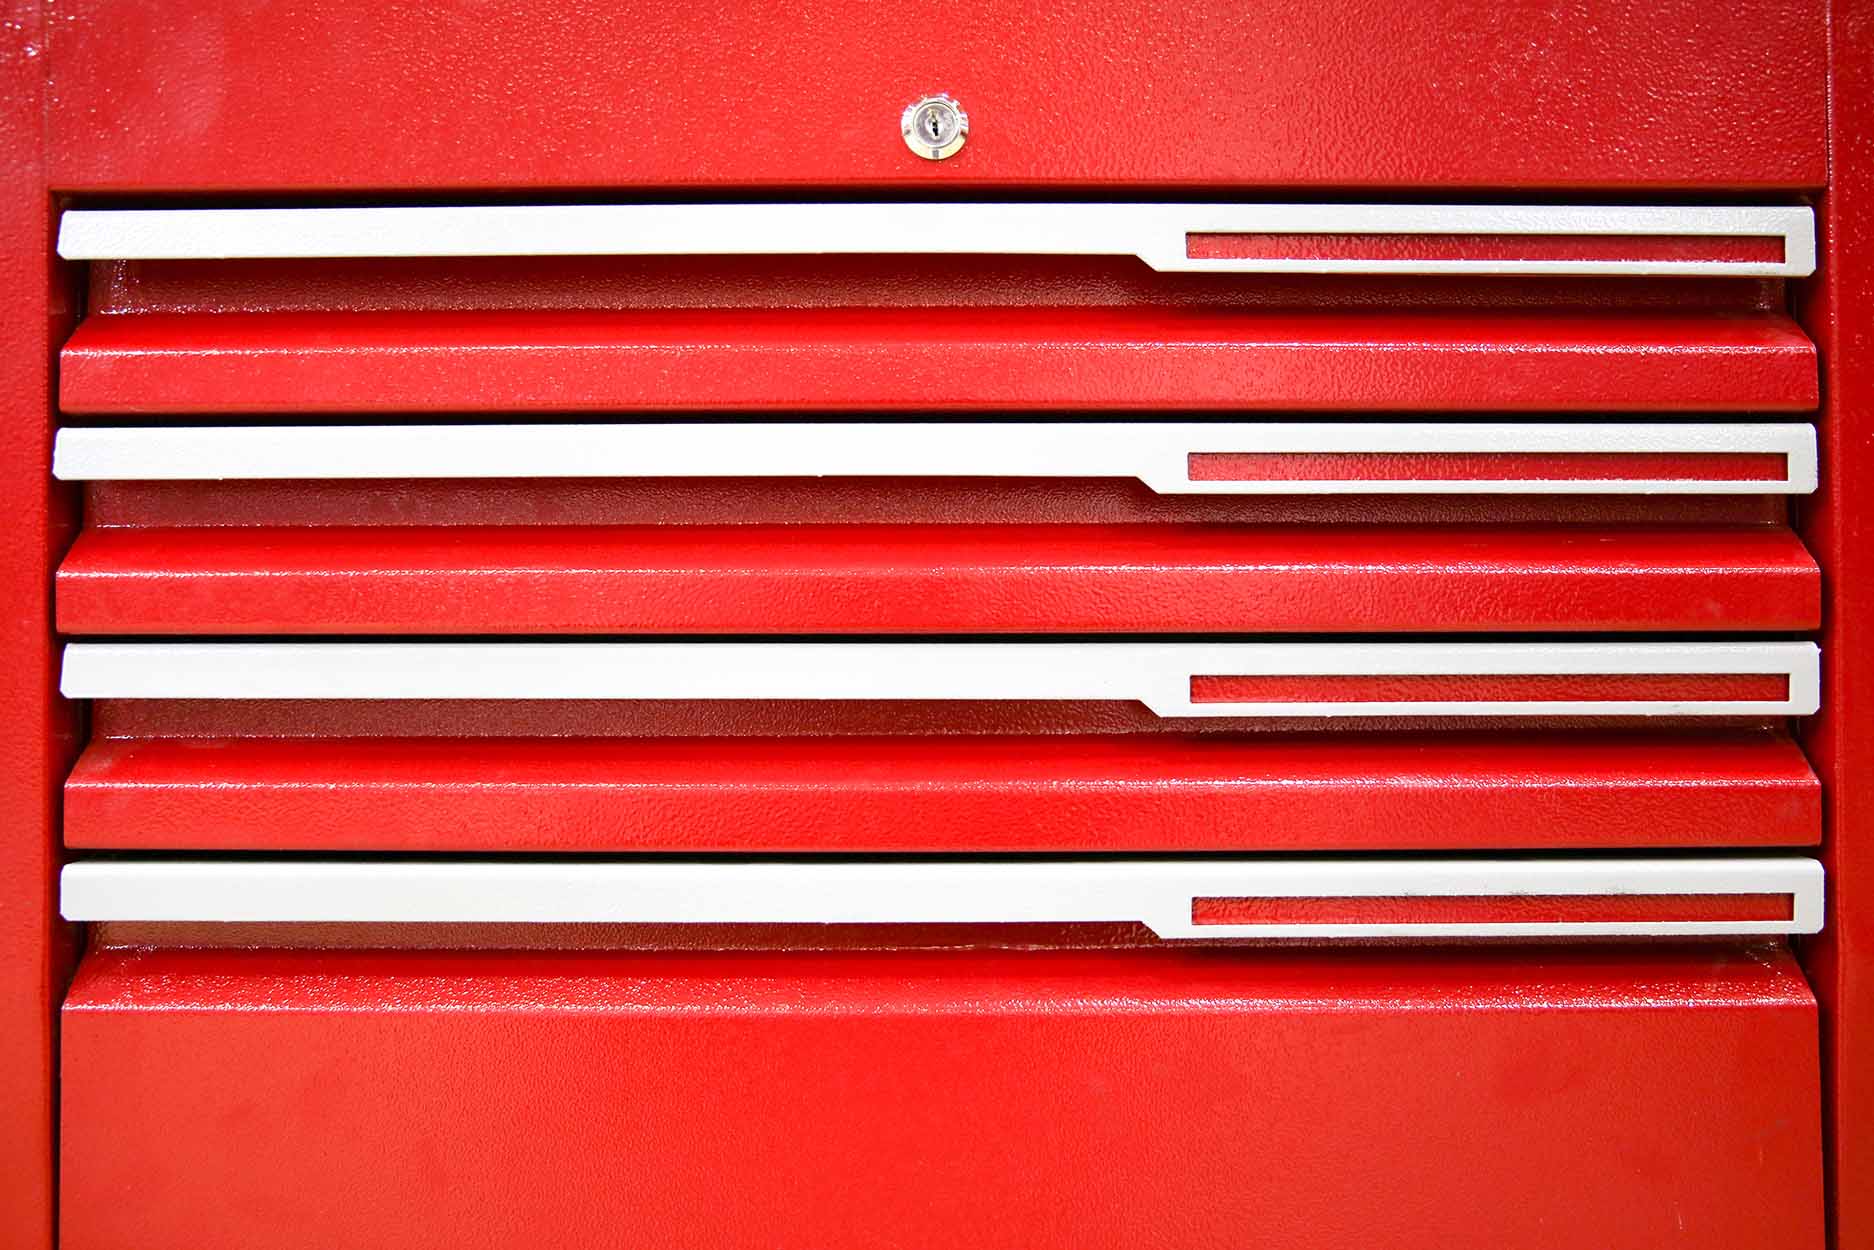
The Complete Tool Storage and Organization Guide
Storing tools the right way makes life easier. Tool storage cabinets, tool chests and lockers are just the beginning to storage and organization.


The information contained in this article is intended for general information purposes only and is based on information available as of the initial date of publication. No representation is made that the information or references are complete or remain current. This article is not a substitute for review of current applicable government regulations, industry standards, or other standards specific to your business and/or activities and should not be construed as legal advice or opinion. Readers with specific questions should refer to the applicable standards or consult with an attorney.


CONNECT WITH US


SIGN UP FOR EMAIL
Get more great content in your inbox.