

How It's Done:
Making a Guitar
How It's Done: Making a Guitar
By Grainger Editorial Staff 1/3/23
For David Mathis, every guitar is special. In his shop, every guitar gets the same care and attention, so every guitar can be great. As the owner of the Gallagher Guitar Company in Murfreesboro, TN, David is continuing a tradition of boutique guitar-making that goes back to 1965. He walked us through the process of making a fine guitar.
This interview has been edited for clarity.
Choosing the Design
It starts when someone calls and says, "I'd like to order a guitar."
The Doc Watson is our most popular model. Doc helped design it in 1973, and we're still committed to the same features that he wanted. But people also call and say, "I'm looking for a guitar that will do this or that for me."
We love that, because we can talk to them about the style of music they play and the sound they want out of the guitar, which helps us think about the body shape and the type of wood we're going to use. We enjoy collaborating with people to build the specific guitar they want.
Selecting the Woods
There are so many types of woods that can be used for the back and sides. It’s endless.
Traditionally, mahogany and rosewood are the two options, but we build with all kinds of woods. There's some walnut that we just cut the other day that we're going to build with. We have some cherry wood that came from J.W. Gallagher's old furniture shop.
Woods offer a different sound — that's why some people prefer a rosewood, which has a more metallic ring to it, than a mahogany, which has a drier sound.
The top wood is especially important. We call it the tonewood. Spruces are the main woods for the top. We have Sitka spruce and Lutz spruce, western red cedar, bear-claw Sitka, yellow cedar — all kinds of woods that are ideal for a top.
Testing the Top
We want to understand the top and how to work with it as best we can, because we want it to sound vibrant. This takes time, but it’s worth it.
There are different things you can do to understand the top. You can use the tap tone, and you can flex the wood to feel the strength of it. We also test the wood with an audio signal that we adjust to find the top’s resonant frequency. Then we use a formula that gives us a starting point for the top's ideal thickness. We still rely on our knowledge and experience, but this helps us to be on target.
Getting the ideal thickness is important, because if it's too thick, you're not going to get a lot of vibrance from it. If it's too thin, it's going to be structurally weak. It’ll fail. We don’t decide on the thickness by chance, and we don’t build to the same specification every time—we’re building to the specific piece of wood. We want to give every guitar its best chance to be a great guitar.
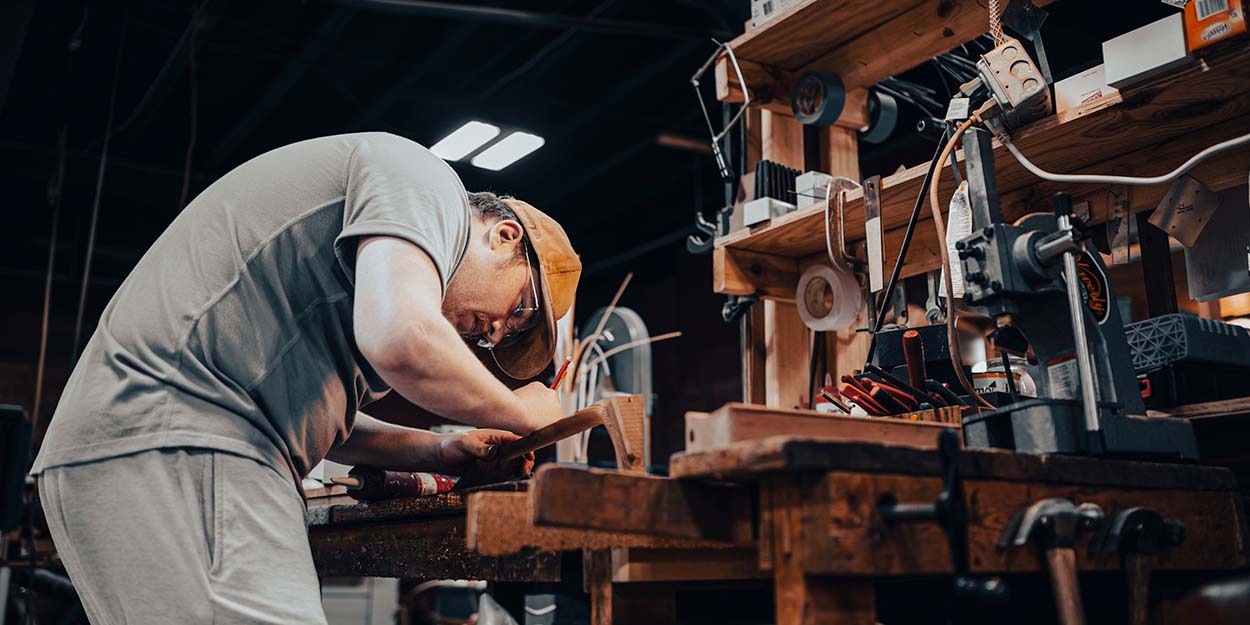
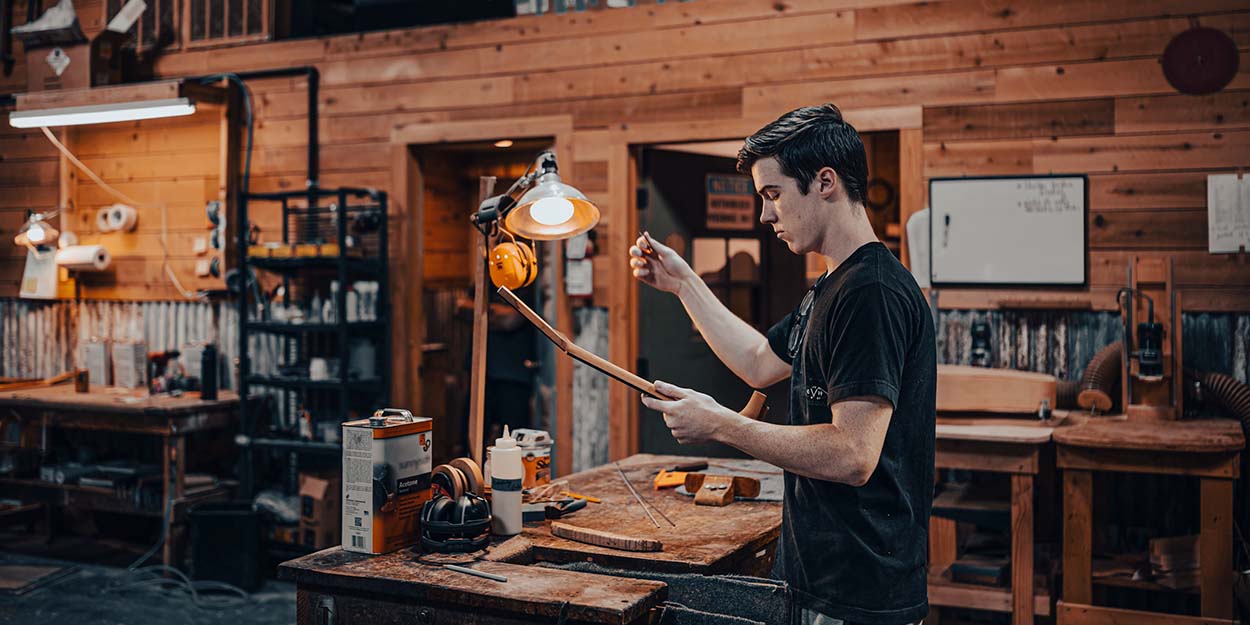
Bending the Sides
When you bend the sides, you turn the heat on and slowly bend the form down. It’s a bit of a ritual to see the wood take shape. And you keep your fingers crossed that you don't hear any cracking sounds.
For our dreadnought guitars, like the Doc Watson, we’re still using the machine that J.W. Gallagher built for bending the sides. I could give you a long list of artists who’ve played guitars with sides that were bent on that same machine.
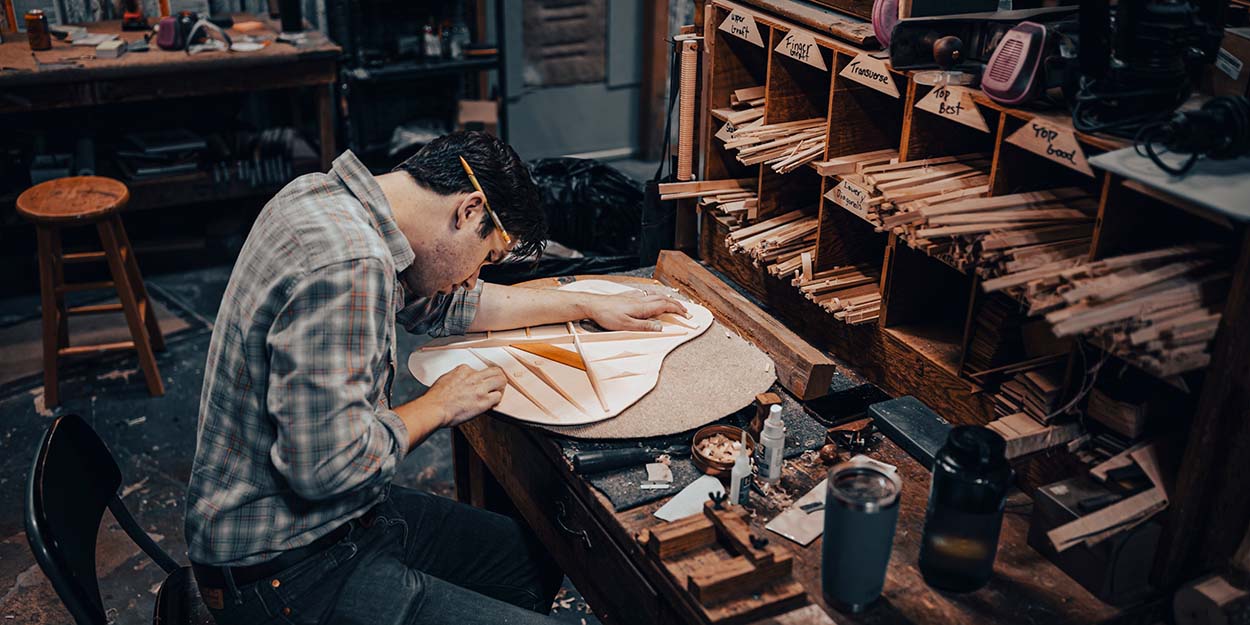
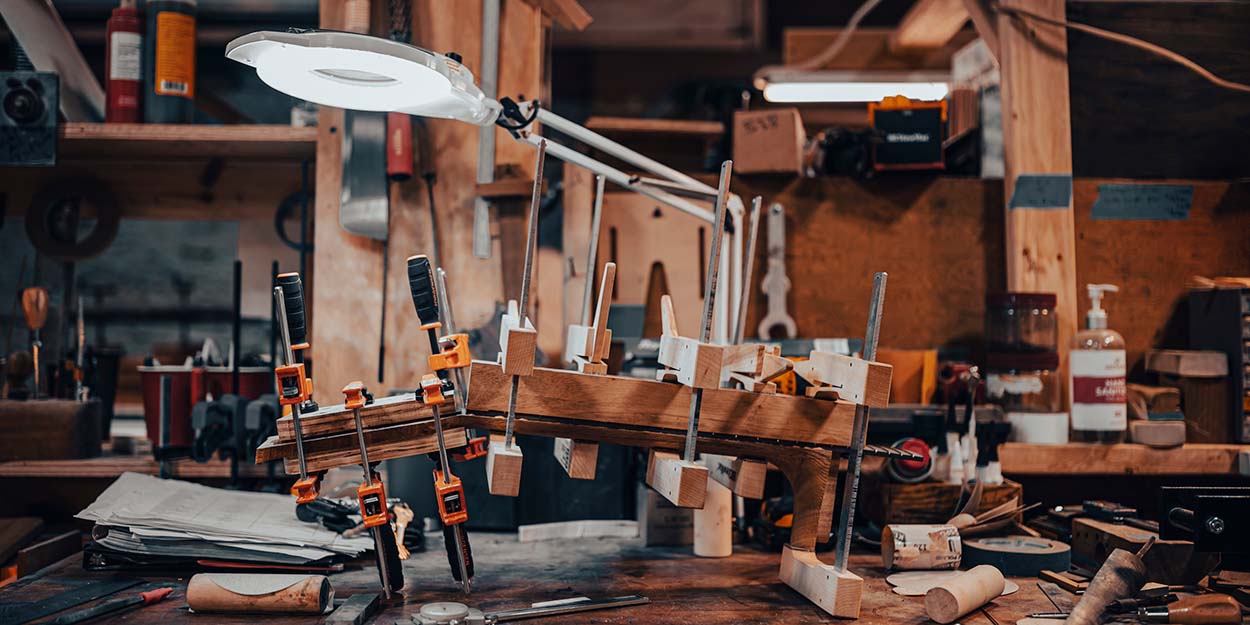
Building the Box
When the sides are bent, they go into a mold that holds them together with the back and the top. This is what we call building the box.
Inside the box, there’s the kerfing, which is wood that’s been slotted so it can bend around the sides to create more gluing edge. And then there’s the bracing. The bracing allows the tops to withstand the pressure from the strings, which can be from 120 to 160 foot-pounds. But if the bracing is overly built, you’ll have a guitar that sounds dead.
Voicing the Top
The process of scalloping the bracing, or what we call voicing the top, is another area where we use audio testing. We look at the vibrational pattern of the top and see if we can shape that with the bracing. Voicing the top has a lot of influence over the sound of the guitar, so we give a lot of attention to it.

Binding the Body
If you look at the guitar at this point, you’ll see that the top and back are hanging over the sides. It’s time to take it to a binder and flush-trim around the shape of the body.
That’s where you know you’re real—if you can take this perfectly constructed, glued-up body and put a router to it. Then you put a router to it again to cut a channel for the binding.
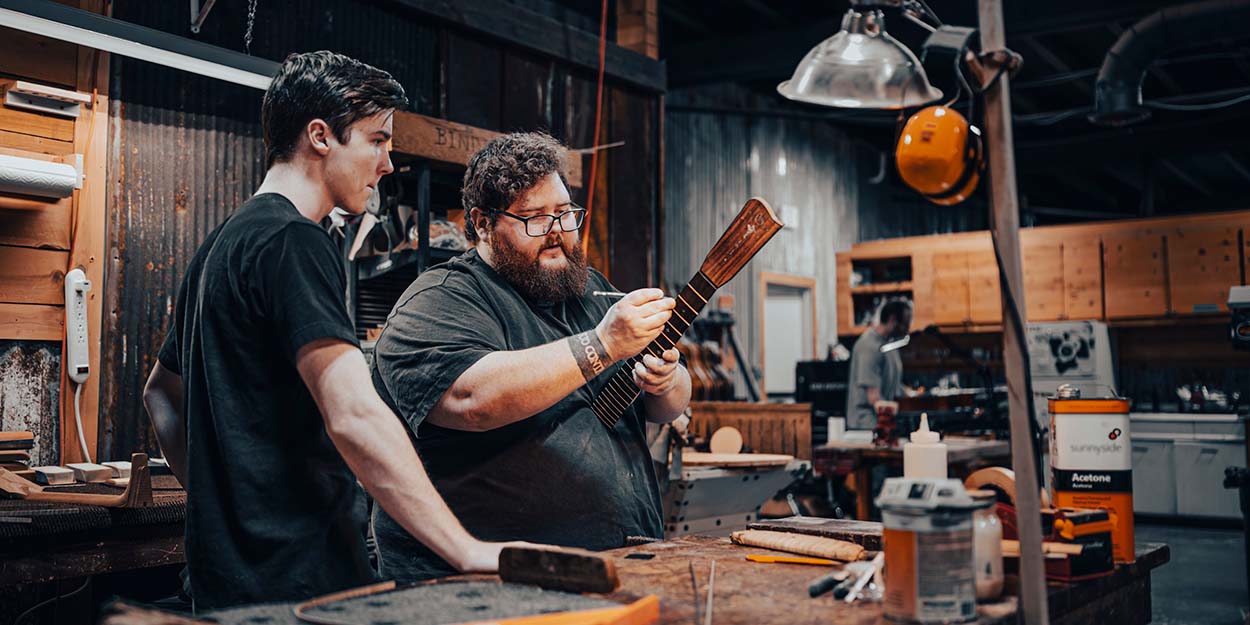
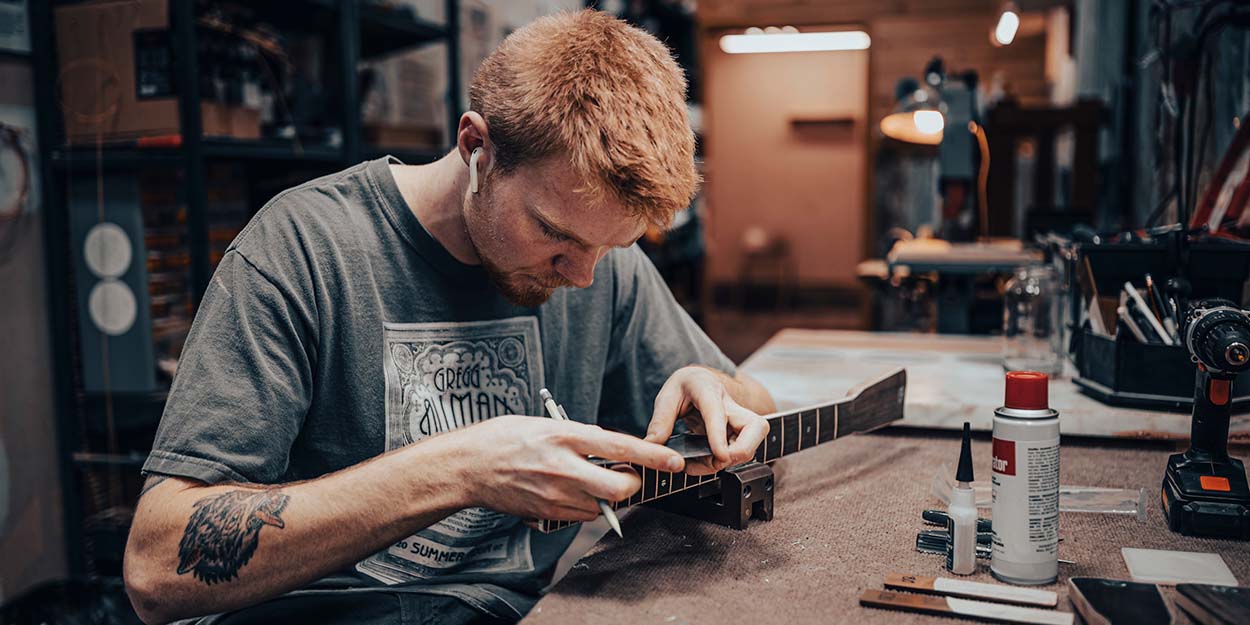
Fitting the Neck
The next thing is to prepare the neck to be joined to the body. We prepare it in rough form on a CNC machine. Then the fret board and head cap are glued to it. Then we carve to the pattern that we want for that neck.
We’ll even custom-profile necks. Say you’ve got an old guitar and you really love the feel of the neck. Can we build a guitar with that same profile? Yes, we can. Sometimes people will bring in the old guitar, or they'll just take the measurements we need.
We make sure the neck has a nice, tight joint to it to transfer the sound. A good connection between the neck and the body helps conduct the sound. You also have pressure on the neck, trying to pull it away from the body. It takes a lot of skill to get a tight fit. There’s science and there's mathematics to the process, and there's a lot of skill that comes from hands-on experience.
We do an initial joint, and then we finish the neck and body separately.
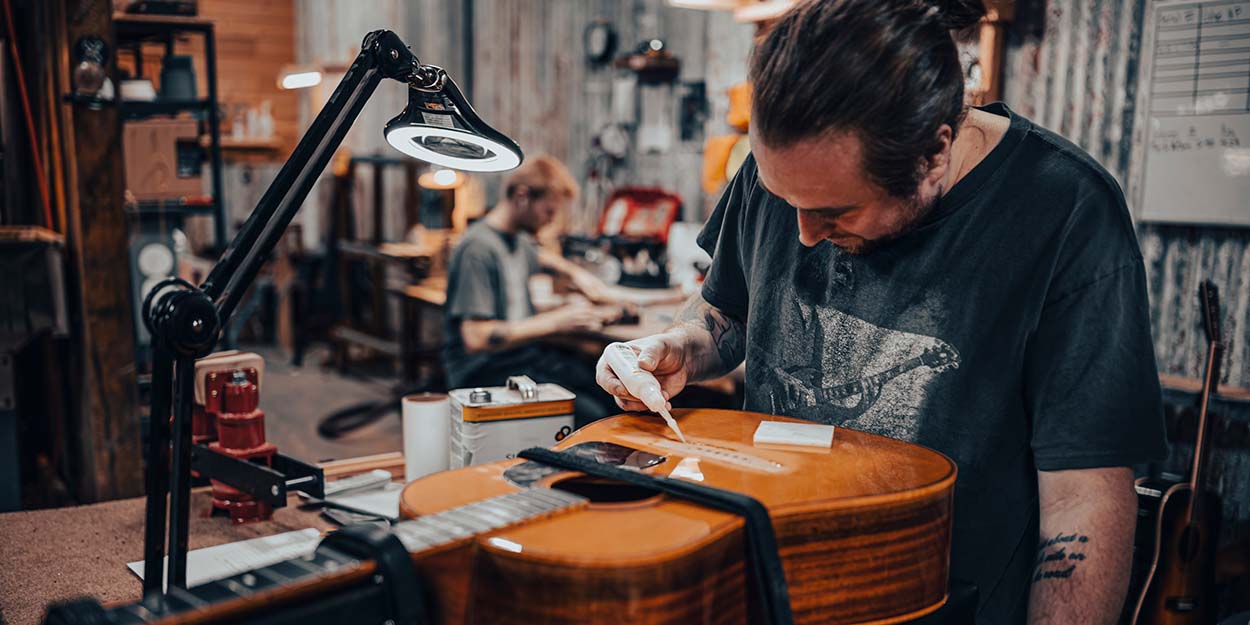
Finish Sanding
To prepare for the finish process, we need to sand the body. This is not just, “Let's run some sandpaper over it.” We find any unevenness in the wood, any scratch marks, anything. Because if you don’t do this properly, the lacquer finish will act like a magnifying glass. When you look at a guitar and don’t see any kind of mark or scratch or imperfection, that is not by accident. It takes a good eye and good feel.
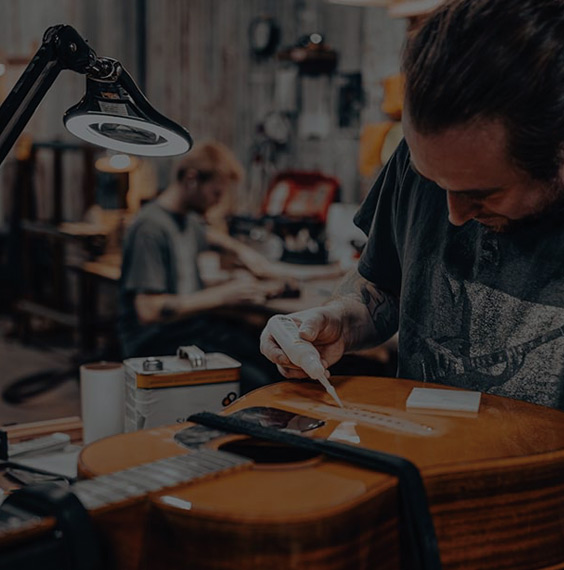
Applying the Finish
Building a guitar is intricate work, and the application of the finish takes a lot of skill, too. Wood has pores in it, and to get a nice, smooth finish, you have to fill those pores and then level-sand that back to prepare it to be sealed. Once that’s done, we begin the process of applying layers of lacquer.
And people have no idea. You might think, "Oh, you just spray it one time," but our guitars will take anywhere from 10 to 14 layers of lacquer. That may seem like a lot, but as it's sprayed, it's also going to be sanded back and leveled, so that you get a really smooth finish. And it ends up being a really thin finish, because every coat is so thin.
Nitrocellulose lacquer is kind of the holy grail for finishing a guitar. A lot of companies use a polyester-type finish because it's quick. You spray it and you can begin working with it the next day. We’ve experimented with those, but we still feel the best finish we can provide is the nitro lacquer. Once the final spray goes on, it needs to cure for seven to 10 days.
After that, we take sandpaper and water to wet-sand back any unevenness that might appear. Then we take it to the buffer. We go through four stages of buffing, using different degrees of grit to get finer and finer. The final buffing brings out a gloss finish.
The Final Setup
Now we do the final fit of the neck, being very careful not to scar the finish in any way. Then it's what we call the final setup.
That's where we take a piece of bone to fit in the saddle, and we take a piece of bone for the nut. We cut space for the strings to lay into that bone at the right height. We put the tuners on. We string it up. We test for intonation and level. We take the strings off, we adjust, put the strings back on, test again. Take the strings off, adjust—to get to as ideal a setup as we can.
Then we sit around and we hear the guitar for the first time. We'll pass it around, and different people will play it. “What does it sound like to you? What do you like about it?” We’re giving these guitars the best chance to be a great guitar every time. We haven't had a dud yet. We're proud of that.
I'm telling you, it is really something. It's a very moving experience. Guitars can be emotional. They can evoke something from you. I just can't tell you the happiness of seeing the owner play the guitar for the first time.
Yes, we build guitars, but we build happiness. That really is true. It's happiness for us, for the owner that's playing that guitar, for the audience that he may be playing it to. We create history and satisfaction and happiness and joy with these instruments, even if it's just playing to our kids at home.
The information contained in this article is intended for general information purposes only and is based on information available as of the initial date of publication. No representation is made that the information or references are complete or remain current. This article is not a substitute for review of current applicable government regulations, industry standards, or other standards specific to your business and/or activities and should not be construed as legal advice or opinion. Readers with specific questions should refer to the applicable standards or consult with an attorney.


CONNECT WITH US


SIGN UP FOR EMAIL
Get more great content in your inbox.